CRICUT PROJECT IDEA: PANTRY SIGN
- Jul 10, 2021
- 2 min read
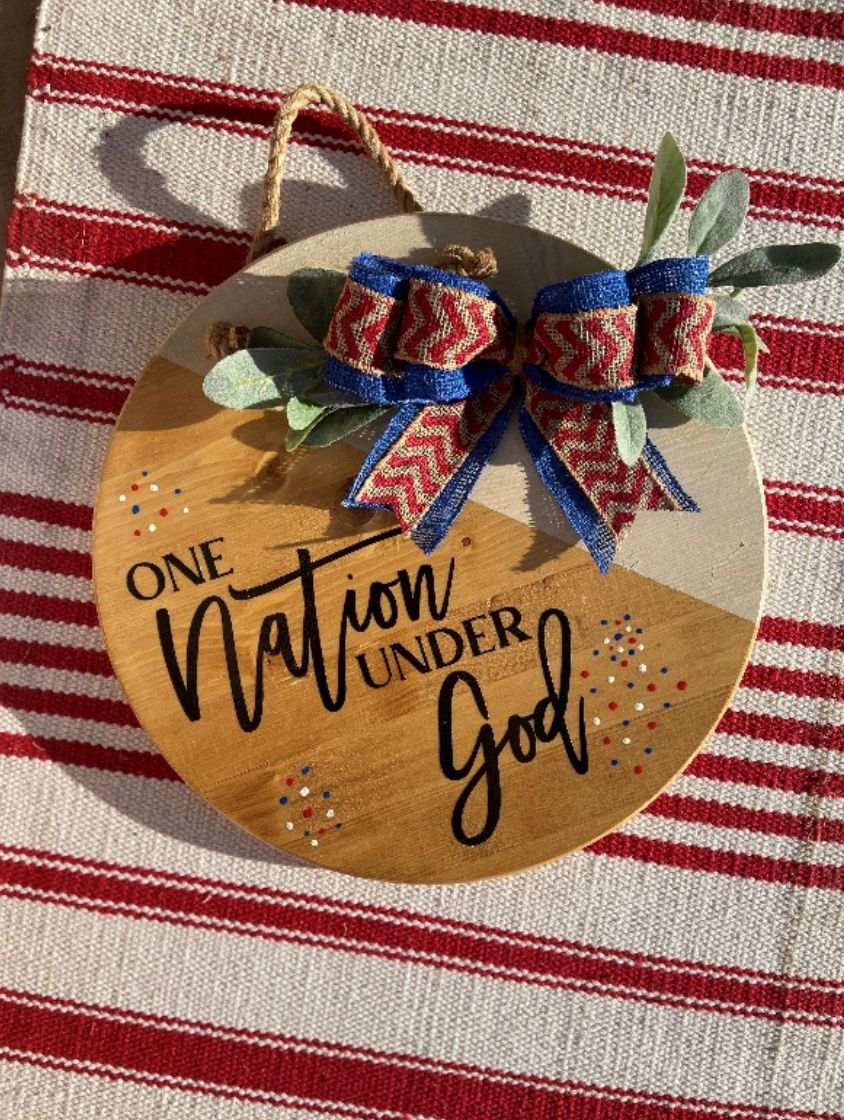
I’ve been looking at the top of my pantry for so long looking to fill the blank space, and when I saw this piece of wood at my local craft store I knew exactly what I’d use it for.
I stained it in a golden oak stain, because it matches my dinning room table. These are completely customizable, and that’s the best part! I got the SVG for this off of Etsy, but there are a TON of designs to choose from.
Here are some step by step examples on how to accomplish this project.

Step One: You can get any raw piece of wood from any local craft store. I got this piece from hobby lobby, but again I stained it this color. Oh and don’t forget to sand it before! A simple sand paper will do the trick if you don’t have an electric one.

Step two: Choose your design and cut it out on some stencil vinyl. After you weed it and attach your transfer tape, carefully place it where you want it on your piece of wood.


Step three: Once you have placed your stencil vinyl, tape off anything else showing to prep it for spray paint. Then lightly mod podge over lettering to seal it from any bleeds.

Step four: Once you have spray painted everything let it dry for the directed amount of time on your spray can and then peel away excess vinyl.


Step five: After you have your finished product don’t forget to seal it with a polycrylic finish to complete the look. You can add a backing to it or you can use command strips to hang it up.
Follow my Instagram for more DIY ideas.
@creativecutsbytori


Comments