CRICUT PROJECT: 4TH OF JULY DOOR HANGER HOME DECOR
- Jun 29, 2021
- 2 min read
My first DIY post! How exciting!! Please bear with me... I will try and make sure I have a lot of detail to the point that you can easily make this fourth of July cricut project yourself.

Supplies needed:
• Ribbon
• Rope
• Drill
• Drill bits
• Wood stain in any color you want depending on the look your going for.
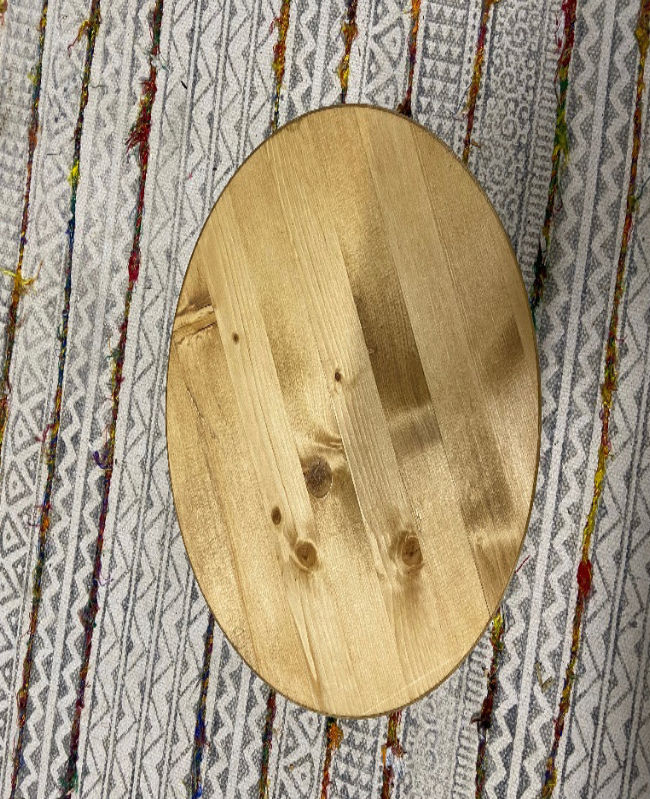
Step One:
Sand then stain the 15 in wood round.

Step Two:
The next step after sanding and staining is to get your drill and drill bits. Drill holes all the way through, a big enough drill bit big enough to fit a thick rope through will do just fine.

Step Three:
Lay down your masking tape, then role over your white paint. I find a paint roller lays the paint down more evenly instead of a paint brush. I find a paint brush leaves streaks and makes the paint clump together. I like to peel the tape while its still wet because it’s a sharper finish.


Step Four:
Cut out your design on your stencil vinyl, I like to get my designs off of Etsy if I don’t make one myself. Once you lay down your stencil Vinyl use mod podge, a very thing layer, over your vinyl and tap it over do not do swiping motions. This seals your lettering so when you spray paint over the lettering will be sharp and their wont be any bleeding.

Step Five:
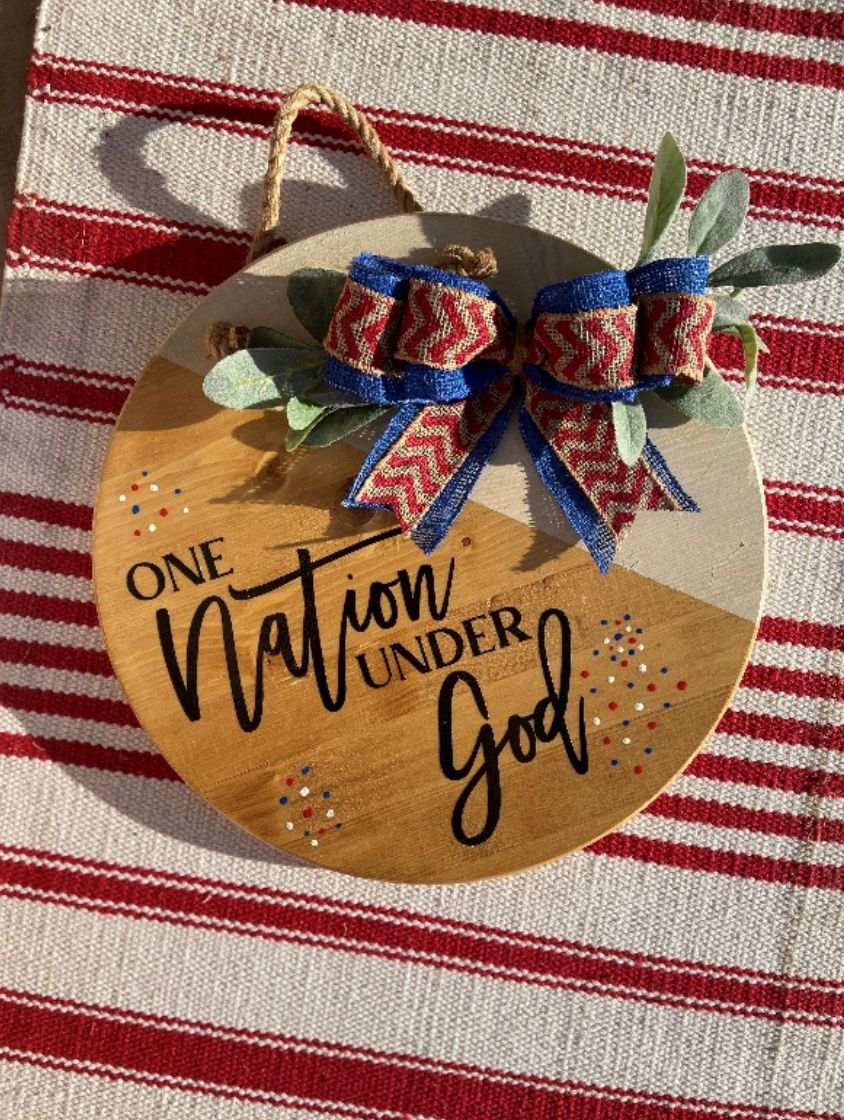
Cover visible areas with paper or any scraps that you have with your masking tape. Peel and clean up with black paint if needed, on your lettering. You can also see the bow I made; you can find a bow tutorial on any YouTube channel.


Step Six:
You don’t have to do this but I wanted to add more fourth of July colors to my sign so I added cute polka dots to it.

Step Seven:
Finally seal it with Polyacrylic and do this with about three layers. Follow instructions on the can. This protects it from the outdoor weather and also seals any water based acrylic paint from smearing.
Step Eight:
Finally, the finished Product! Follow my Instagram page to view more fun DIY projects that I’ve made!


Comments